
Using a procreate brush (or any digital art for that matter) well is no simple task. There are many different mistakes that beginners and even some experienced artists make when creating artwork with their iPad or simply digital brushes, which might not be as obvious as they seem at first sight. Here’s a list of such mistakes to avoid: (and tips on how to avoid them)
1. Not familiarizing oneself with the technology
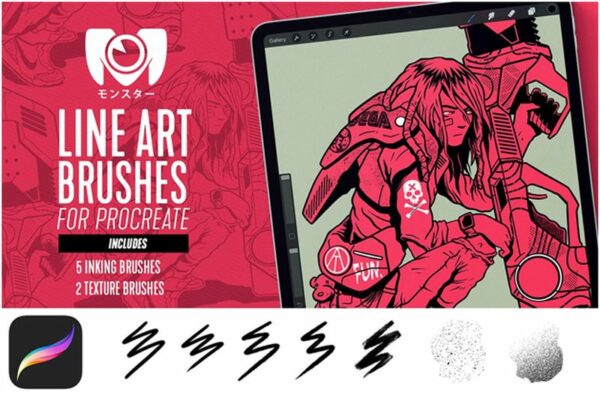
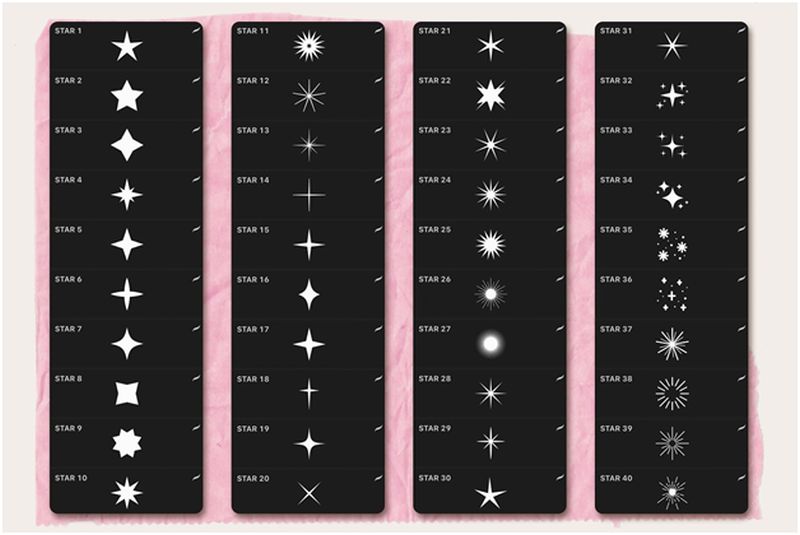
To be able to create high-quality artwork, one needs to have a solid knowledge of the tools and brushes used. This means for digital artists it’s best not only to use them frequently but also experiment with each tool and brush in different scenarios, changing widths and opacity levels, creating various strokes on the screen, etc. One can download, use, and explore Procreate brushes readily available on Creative Market
2. Not knowing what each of the brushes in a Procreate brush pack is for
There are a few tools on a procreate brush pack that can be easily gotten by mistake and might seem to perform the same function as some other tool, which results in having to redo all or part of one’s work. This happens mostly with the smudge tool, healing tool, and eraser, which are often mixed up since their functions seem similar. A good way to avoid such mistakes is knowing what each of these tools does.
Creative Market
3. Being too reliant on the zoom function
The zoom function, together with the touch and move functions, should be used sparingly while working on a digital piece, even if working with a pixel brush Procreate has for its users. The reason for this is it’s easy to get lost when zooming in and out too frequently, which can make one lose perspective. This will result in messier (and lower quality) work since the artist is not able to see what s/he is creating with accuracy.
4. Not knowing the brush opacity levels well enough
The best Procreate brushes come with a set of opacity levels that the user can choose from when painting. This means knowing which opacity level goes with which tool and brush is important for creating accurate artworks, plus it’s possible to create effects such as glows and smudges depending on the chosen opacity level.
5. Using too many layers
Using too many layers in a digital painting can be a common mistake especially for beginners who have just started using procreate. This will result in an artwork that is difficult to edit, not only because a user has a hard time keeping track of what’s on each layer but also because the number of layers makes the file size much bigger, which both make it harder to work with the file.
6. Not knowing how to properly use effects and layers together
Effects such as glows, textures, and smudges can help make the art pop up more if used correctly, especially when using Procreate watercolor brushes. However, they also often make the process of editing harder since it is not easy (and sometimes impossible) to erase some parts of them without affecting the whole painting. This is why it’s best to use these effects only when they complement the art and don’t make things more complicated than necessary.
7. Lacking patience
Being too excited about getting done with a piece might lead some artists to be less critical of their work and not take enough time and go over each step just because they want to finish quickly. This results in having to redo a lot of work and spend more time cleaning up and editing the different parts because the art does not look coherent (and this applies to any kind of art, digital or not).
8. Not using layers for each color one is using
Separate layers should be created to put what’s being painted at the moment on, instead of mixing up all the colors for a specific area. This means it’s not necessary to create separate layers for each color one is using but rather keeping them separate might help make the work easier when trying to go back and edit something or make changes, which can be done without affecting too many different parts of the painting since it’s only the color being worked on that is affected.
9. Not saving frequently
One of the most important steps in digital art is to save often, especially when working on a big file or doing many different things at once. Losing one’s work due to a program crash or computer shutdown can be avoided if there is a version of the work on each save. This is why saving every so often is important, and it’s also recommended to keep a backup of one’s work in case anything goes wrong while working on the file.
10. Putting random changes into an art that has no purpose
It can be easy for some artists to add unnecessary elements just because they can and it’s possible, but this should be avoided since doing so makes the work look messy and not thought-out. For example, if a tree brush Procreate has in their selection does not add anything or improve the overall aspect of a piece then there’s no reason to include it.
Conclusion
Art is not about doing things right, it’s about trying to make every piece look like one is putting all of oneself into it. Making mistakes along the way can be frustrating but learning from them and using that knowledge is what will help artists grow as they create more artworks.
Article Submitted By Community Writer