

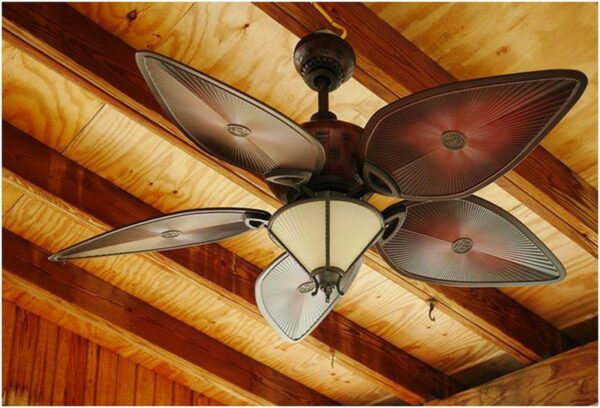
A ceiling fan is a worthwhile upgrade for any home. Today’s fan designs look incredibly stylish, but ceiling fans are functional and eco-friendly as well. They can make a room feel much cooler in the summer, and in the winter, you can switch the direction of the blades so that they push warm air down from the ceiling and keep your home feeling warm.
Ceiling fans are pretty easy to install, too. As long as you have an existing light fixture in the spot where you want to put the ceiling fan, you won’t have to run any new wiring. It’s just a matter of taking down the light fixture and putting up the ceiling fan in its place. Follow these steps to make it happen.
Go to the Breaker Box and Turn Off the Electricity to the Circuit
The first step in any wiring job is to make sure the circuit you’ll be working on is safely turned off. Go to the breaker box and figure out which breaker switch you need to turn off to disable power to the circuit you’ll be working on. In most cases, the breaker switches in your breaker box will be labeled as to which circuits they control. But if yours aren’t labeled, you’re going to have to figure it out yourself. Don’t skip this step – it’s very important that you’re able to turn off the power before you start working on the circuit. You could be seriously injured or killed if you try to work on a live circuit.
For that reason, you should always double-check that the circuit is off. After turning off the circuit at the breaker box, go to the room where you’ll be working and test one of the outlets for voltage using a voltage tester, or flip the light switch. If your outlets or light switch are still live, you turned off the wrong breaker and might need to map your circuits.
Disconnect the Old Fixture

The old light fixture should be easy to take down. Remove the glass globe or shade covering the light bulb, and you should see screws in the fixture affixing it to the ceiling. Unscrew these and you can pull the light fixture away from the ceiling, exposing the wiring. Disconnect the wiring and remove the light fixture entirely.
Put a Fan Brace in Your Ceiling
If you are replacing a light fixture with a ceiling fan, you need to make sure you have the proper fan brace in your ceiling to support the weight of the fan. A light fixture might not need to be anchored to a joist or brace, because they tend to be small and not weigh very much. That isn’t the case with a ceiling fan – they’re big and heavy, and need to be anchored to something that can support at least 50 pounds of weight (if not more).
If your ceiling hole is directly over a joist, you can simply hang the fan from the joist. You can even move your ceiling hole over if needed to anchor your fan directly to a joist. If that’s what you’re going for, you can cover the old hole with a ceiling medallion.
However, hanging your Hunterfan.com ceiling fan directly from a joist may not be feasible. If you can, access the joists from above and install a two-by-four between the joists, holding it in place with 1.5-inch screws driven into the joists at either end. If you can’t get to the joists from above, buy an expanding metal fan brace. You can stick it through the ceiling hole and expand it inside the ceiling until the anchoring skewers on either end sink into the joists.
Attach a Fan-Rated Electrical Box to the Brace
A ceiling fan also requires a fan-rated electrical box, so ditch the electrical junction box that you have in your ceiling, unless it is rated for use with ceiling fans. Screw a fan-rated electrical box directly to your joist or fan brace.
Hang the Fan Motor
You will need to assemble the fan motor on the floor before you get up on the ladder to hang it – follow the assembly instructions that came with your fan. Attach the fan mounting bracket to the electrical box in the ceiling, then bring the assembled fan motor up and hang it from the hook on the mounting bracket. Connect the wiring in the fan to the wiring in your ceiling. The black wire attaches to the black wire, the white wire to the white wire, and the green or bare ground wire to the green or bare ground wire. Secure the wiring connections with wire nuts, tuck the wiring into the electrical box, and finish attaching the fan motor to the mounting bracket. Slide the fan canopy up over the bracket and secure it in place.
Prepare the Fan Blades and Attach Them
The fan blades should come with blade irons that need to be screwed to each blade. Affix the blade irons, then screw the fan blades to the motor housing.
Add the Light Fixture, If There Is One
If your new ceiling fan has a light fixture, you will probably need to wire it up too (although some fan light fixtures just plug into the motor housing). Connect black to black, white to white, and green or bare to green or bare. Screw the light fixture into place, add the light shades, and you’re done! It’s time to turn the power back on and test your new fan out!
Article Submitted By Community Writer