

If you’re like most people, when a hinge on your door starts to wear out, the first thing you’ll likely do is try to fix it yourself. But if it’s beyond repair, you’ll have to replace the door hinges.
Door hinges are one of the most important parts of a door. If they break, the whole door can become unusable. Luckily, replacing a door hinge is a relatively easy task that you can do yourself with basic tools and the right know-how.
Here’s a simple guide on how you can replace a door hinge by yourself. Continue reading to learn more.
Choosing The Right Hinges
When replacing door hinges, it’s important to choose the right type of hinge to utilize. There are many different types of door hinges available on the market, so make sure to select the one that is best suited for your door.
If you’re not sure which type of hinge to choose, you can always consult a professional or look at stores like Quality Door and Hardware and others that offer top-of-the-line hardware and home improvement items for their projects.
Upon finding the right door hinge to use, you need to prepare the following tools which you’ll need:
- A drill;
- A screwdriver;
- A hammer;
- A chisel (optional); and
- Replacement door hinges.
Step 1: Remove The Old Hinge
The first step is to remove the old hinge. To do this, you’ll need to unscrew the screws holding the hinge in place. If the screws are stripped or damaged, you may need a drill to remove them.
Once the screws are removed, you should be able to pull the old hinge off of the door. In the event that it’s difficult to remove, you may need a chisel to loosen it up.
Step 2: Cut The Mortise
The next step is to cut the mortise or the recess in the door where the hinge will be mounted. You’ll need to use a chisel and hammer for this. Start by using the chisel to make a shallow cut around the perimeter of the mortise. Then, use the hammer to tap the chisel and deepen the cut.
Continue deepening the cut until it’s the right size for the new hinge.
Step 3: Mark Screw Locations
Now it’s time to mark the locations for the screws that will hold the new hinge in place. Most door hinges come with two screws, but you may need to use more or fewer depending on the size and type of hinge. Use a pencil to mark the location of the holes for the screws.
Step 4: Drill Pilot Holes
Once you’ve marked the locations of the screws, you’ll need to drill pilot holes. Pilot holes are small holes that help make it easier to drive screws into place. Ensure that they fit the design of your home’s doorway.
To drill a pilot hole, start using a small bit to create a very shallow hole. Then, switch to a larger bit and continue drilling until the hole is big enough for the screw.
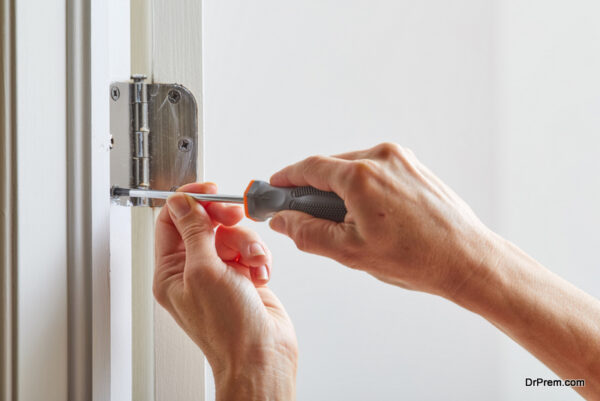
Step 5: Attach The New Hinge
After successfully drilling the pilot holes, you may proceed to attach the new hinge. Start by holding the hinge in place and then driving the screws into the pilot holes. Be sure to use an appropriately sized screwdriver for the screws you’re using. If the screws are too big or too small, they may strip the holes.
Step 6: Repeat For Other Hinges
Repeat steps 2-5 for each hinge on your door if it has more than one. Once all of the hinges are in place, you should be able to open and close the door without any issue. If the door isn’t closing properly, ensure that the hinges are mounted flush with the door surface.
You may also need to adjust the position of the strike plate, which is the metal plate that the door latch hits when the door is closed.
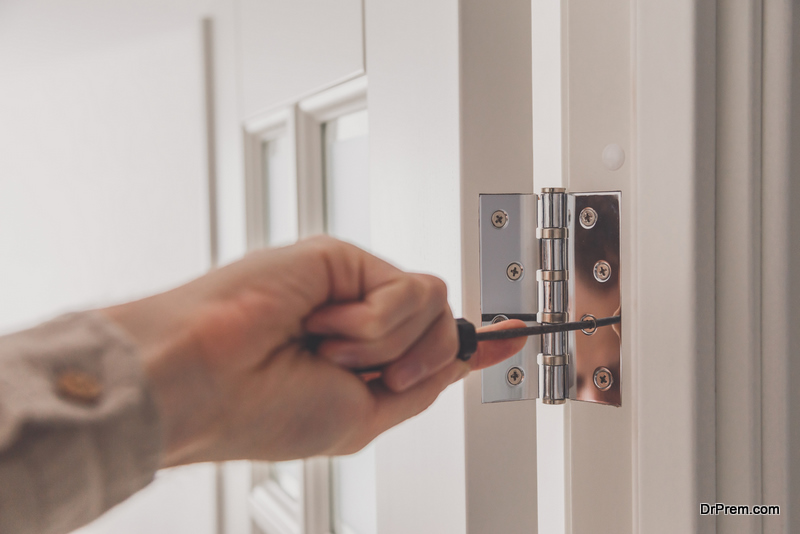
Step 7: Connect The Door To The Jamb
Once all of the hinges have been replaced, you can reattach the door to the jamb. Start by aligning the hinge plates with the corresponding holes in the jamb. Then, drive screws into the holes to secure the hinge plates.
Be sure to use screws that are long enough to go through both the door and the jamb. Otherwise, the door may not be secure.
Step 8: Test The Door
After the door has been reattached to the jamb, you should test it to ensure it’s working properly. Open and close the door a few times to ensure that the hinges are holding up. If everything seems to be working properly, then you’re all done!
Conclusion
Replacing a door hinge is a relatively easy task that most people can do without any issue. Nonetheless, if you’re unsure which type of hinge to choose or how to install it properly depending on the door type, you may want to consult a professional. No matter what, be sure to test the door after replacing the hinges to make sure that everything is working properly.
Article Submitted By Community Writer