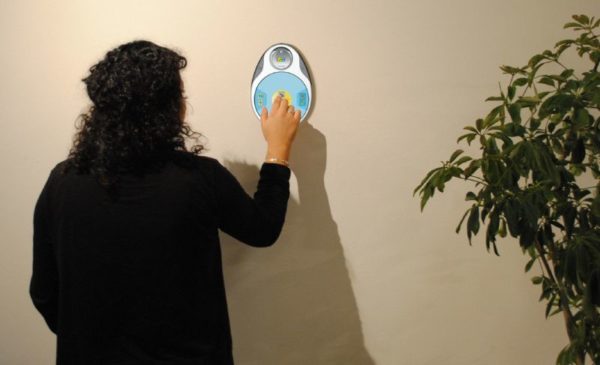

Digitalization has made obsolete most of the adjustments that were needed in traditional film-cameras and photography has become easier today. Earlier we needed a professional to capture good photographs, whereas all of us have become photographers today capturing every moment of our lives with mobile phone cameras.
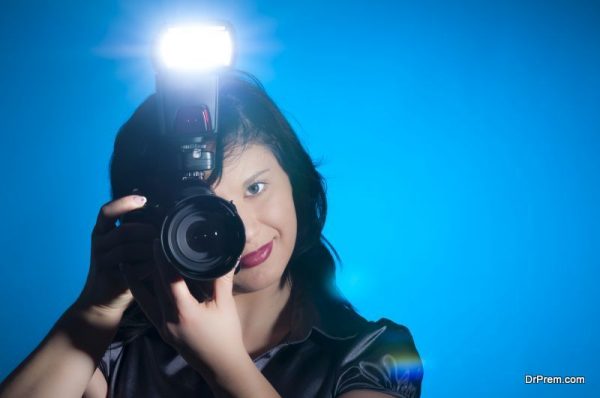
However, when it comes to using flashlight for our photography, we are not that expert. Flash is a device used in photography to produce an artificial light to improve the whole aesthetics of the shot taken.
This article will try to explain how to use camera flashlight to your advantage to enhance the quality of your shots and the equipments you may need to do so. Although, the article refers to general flash lighting techniques for digital cameras, you may employ a few while using your camera phones too.
What does the flash do
The flash throws the light on the subject and the camera captures the image as the light bounces back from the subject. If the subject is too close, it will burn the picture with a white haze and if the subject is placed too far the picture becomes dark, as there isn’t sufficient light.
Basics of flash you need to know
TTL Flash – It is an automatic mode present in all DSLR cameras where the in-built flashes are used for point and shoot purposes. This mode is good for beginners in photography, as it is handy for their photographic needs and does not require metering and settings.
Manual Flash – A manual flash mode requires you to completely set the flash according to your requirement. This is not as easy as the TTL flash mode, but not very difficult either once you are acquainted with the basic skills of photography. It cannot be used for random shots, as you need to adjust the flash settings every now and then: but, the shots are more defined using the manual flash. Photography enthusiasts can pick up flash adjustments easily by paying attention to flash exposure and making adjustments accordingly.
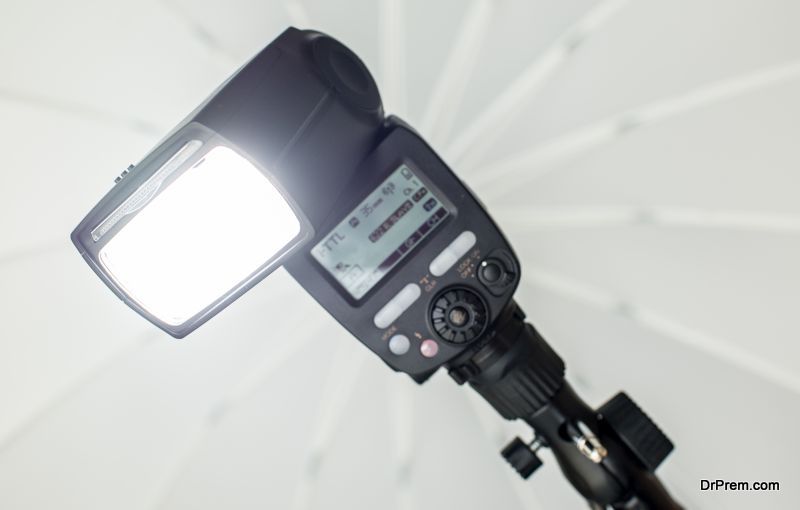
Hot-shoe flash – It is an add-on flash that can be easily mounted on top of the camera and comes with different power variants, depending on the need. They are not flashes that come fixed to your DLSR cameras; hence, they require separate instructions for usage. Generally, the hot-shoe flashes have their own dedicated display for control purposes.
ISO setting
Digital photography is based on shutter speed, aperture setting and sensitivity. ISO measures the sensitivity of the image sensor. When you lower the ISO settings on your DSLR cameras, your camera becomes less sensitive to light and the picture becomes less grainy. High settings are generally used in dark surroundings for obtaining faster shutter speeds to capture the image.
Once you have experimented with your cameras long enough to move on to the level where you stop using automatic settings, follow these simple rules for ISO settings along with your flash—
- Use ISO 100 to 200 for taking shots outside in the sun.
- For an overcast sky use ISO 400 to 800.
- In case of low light or nighttime shoots, use ISO 1600.
Adjust your ISO and aperture settings accordingly when your flash doesn’t have enough power to illuminate your subject if it is at a considerable distance.
Flash sync speed
It is the fastest shutter speed you can use with a flash. A shutter’s rated speed is irrelevant unless it is coordinated with the flashes speed. Usually all the cameras nowadays have a maximum shutter sync speed of 1/200th of a second with the flash.
Guide Number of flash

The guide number (GN) quantifies the output of the electronic flash in a manner the user can understand. The higher the GN, the more the illumination flash can provide and at farther distances. This also determines the cost of the flash; higher GN flashes are more expensive in the market.
Bouncing flash
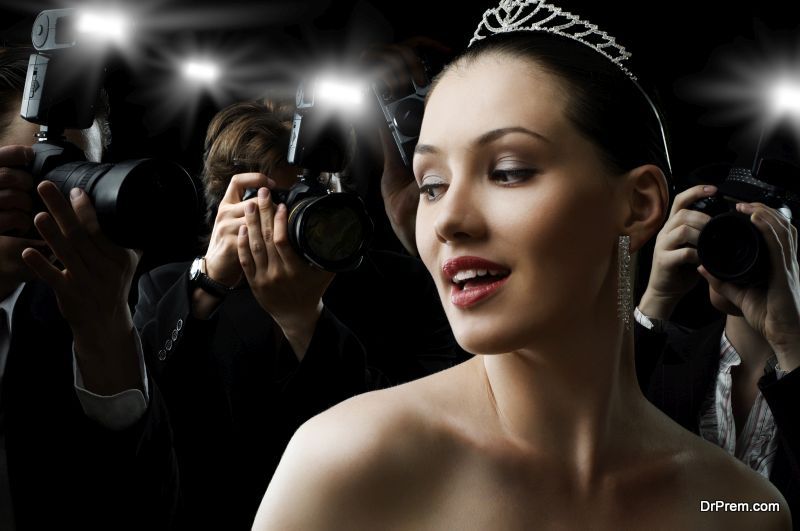
The most common mistake a beginner makes is, shooting the subject by directly pointing the flash at the subject. This will most probably over illuminate the subject. Flash is not just used to illuminate the subject, but also the backdrop. Angle your flash head at 45 degree to bounce off the light off a wall to soften the illumination falling on the subject. If walls are not present, you may use bounce boards for this purpose.
Use a flash bracket
Moving the flash from the hot shoe of your camera and placing it aside can eliminate the chances of red-eye. The flash brackets can make turns to 90 degrees unlike the hot shoe, which will be useful for reducing shadows when you are shooting a subject vertically.